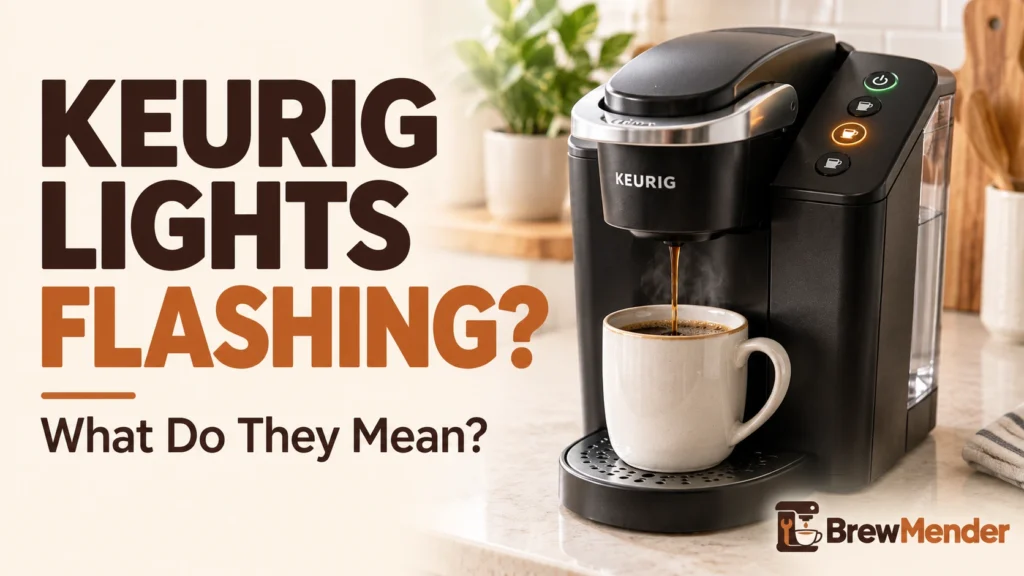
Keurig lights flashing does not always mean something is broken. On many Keurig coffee makers, blinking BREW or cup-size buttons simply mean the machine is ready for your next selection. A simultaneous pattern, an ADD WATER light that does not clear, or lights flashing with no coffee coming out calls for a different check. First identify your model, then match its exact light pattern rather than trying a generic reset.
Keurig Lights Flashing: Identify the Pattern First
Look at three things before doing anything: your Keurig model, which specific light is blinking, and when it starts. Is it before you select a cup size, while heating, in Descale Mode, or in the middle of a brew?
| What you see | Possible meaning | Start here |
|---|---|---|
| Brew-size or BREW button blinking | Often a normal ready prompt | Identify your model, choose the displayed size, and start the brew as the guide directs. |
| A BREW indicator pulsing after start | May mean the brewer is heating | On the K-Mini, wait through the normal heating stage; see its manual. |
| All brew-size lights blinking simultaneously | May be a model-specific support condition | K-Elite and K-Duo Essentials have explicit guidance. Do not copy a reset from another model. |
| ADD WATER steady, flashing, or not clearing | Can indicate a refill prompt or a model-specific state | Check the exact status light, water level, and removable reservoir seating. |
| DESCALE illuminated, with buttons blinking | May be a descaling stage rather than an error | Follow the exact model’s descale sequence and finish signal. |
| Lights blink, but no water comes out | Ready state or a different no-brew symptom | Check handle, water, heating delay, then follow a focused no-flow guide. |
If you cannot find the model name, Keurig’s serial-number location guide identifies common label locations: often behind a removable reservoir, with different locations for certain compact models. Check while the brewer is idle and cool. Do not turn a water-filled brewer upside down to read a bottom label.
When Blinking Keurig Brew Lights Are Normal
A ready light, a heating light, and a finished-brew light can look similar. The K-Mini Use & Care Guide, for example, describes a flashing ready indicator, a pulsing heating stage, and a solid indicator as water begins dispensing. The K-Express guide describes three size lights blinking while the machine waits for a selection.
| Model and manual | Pattern | What to do |
|---|---|---|
| K-Supreme, K-Supreme Plus, K-Slim | Size selections flash after the handle closes; BREW flashes after a size is chosen. | Ready for a normal brew. Press the blinking BREW button. |
| K-Express | Three cup-size buttons blink. | Choose one size. When a brew finishes, all size lights may be illuminated; that is not an all-lights blinking error. |
| K-Mini, K-Mini Plus | BREW indicator flashes before brewing, then becomes solid and pulses after pressing BREW. | The flashing ready state and pulsing heating stage are different; the K-Mini guide describes heating for about two minutes. |
| K-Elite | Brew-size buttons blink after the handle is closed. | A normal ready prompt, not the simultaneous error condition discussed below. |
| K-Duo Essentials Gen 2 | BREW flashes after you select the single-serve or carafe size. | Ready. On the Gen 2, CUPS shows red when the carafe heating plate is on after a carafe brew. |
| K-Duo Essentials, earlier revision | OZ status pulses green during heating. | Follow this earlier version’s own instructions; it is not identical to Gen 2. |
| K-Iced Plus | Hot-size options or BREW OVER ICE blink before brewing. | Select the option described in the guide and start the brew. |
| Original K-Café | COFFEE or LATTE & CAPP options flash during selection. | Choose the intended drink. Frother-base lights are a separate issue; see the linked frother guide. |
| Older Classic Series | Blue brew-size buttons flash after you lower the handle. | This is a ready prompt when the brewer has heated and has sufficient water. |
The timing and color descriptions above apply to the linked manuals, not every brewer carrying a similar name. Check the guide for your exact model and version. Also, some settings temporarily blink to confirm a change, such as High Altitude Mode on particular models; that is not the same as a failure code.
What If All the Lights Are Flashing on Your Keurig?
This is where guessing causes trouble. Keurig documents specific multi-light patterns for some brewers, but not a single universal “all lights” error for every model.
| Model | Exact pattern | Manufacturer guidance |
|---|---|---|
| K-Elite | 4, 6, 8, 10, and 12 oz buttons all blink at once | Keurig says contact Customer Service. |
| K-Elite | 4, 6, 8, 10, 12 oz and ICED buttons all remain on together | Different condition: remove any pod, close handle, put a large mug on the drip tray, then press Power once. Hot water may dispense. |
| K-Duo Essentials Gen 2 and earlier | All buttons blink simultaneously | Keurig says contact Customer Service. |
| Older Classic Series | Blue ADD WATER, red HEATING, and Small Mug flash together | Clean and correctly reseat the reservoir, fill no higher than MAX, then press the flashing Small Mug button. If this specific procedure fails after two attempts, contact Keurig. |
| K-Elite, K-Duo Essentials, original K-Café | ADD WATER stays illuminated after a proper refill | Check reservoir seating. If it remains on, their guides direct owners to Customer Service. |
| Other models listed below | A different set of all-lights blinking | If the exact pattern is not documented in the model’s guide, do not assign it a generic code or try random button holds. |
K-Elite: All lights on versus all brew sizes blinking
The K-Elite manual distinguishes steadily illuminated 4, 6, 8, 10, 12 oz plus ICED buttons from five blinking size buttons. The first has a pod-removal and Power-button procedure and may dispense hot water. For the second, the manual says to contact Keurig Customer Service. Do not use the first procedure for the blinking pattern.
K-Duo Essentials: Check the generation
Both the K-Duo Essentials Gen 2 guide and the earlier Essentials guide direct owners to Customer Service when all buttons blink at the same time. A flashing BREW prompt during an ordinary selection or descaling stage is different. If the actual problem is a damaged, leaking, or incompatible K-Duo coffee pot rather than blinking buttons, use our K-Duo carafe replacement fit guide to check the correct model and generation.
Older Classic Series: Three specific lights together
On an older Classic Series brewer, the blue ADD WATER, red HEATING, and Small Mug lights flashing together have a documented reservoir-related procedure. While the brewer is idle, remove and thoroughly clean the removable reservoir according to the manual. Fill it no higher than MAX, seat it securely, and press the flashing Small Mug button. If the same issue continues after two attempts at this procedure, the guide says to contact Customer Service. This instruction is not for a K-Mini or a newer model with different buttons.
Important: A light that stays on is not the same as one that blinks. A model’s normal completion lights are not automatically an error. Never lift the handle or remove the reservoir during a brew because hot water can cause burns.
Keurig ADD WATER Light On or Blinking: What to Check
Do not assume every Keurig has an identical ADD WATER indicator. On the K-Elite and K-Duo Essentials, the guide discusses an illuminated ADD WATER warning. Some older compact models have a separate flashing water indicator. The K-Mini guide instead explains a BREW indicator and a single-cup fill process, so do not copy reservoir-removal instructions from a larger machine.
- Check your exact model’s water requirement. A removable-tank brewer generally needs water at or above its minimum fill line. Never fill past MAX. On the K-Express, Keurig directs owners to add an extra 2 oz if the brewer will not start because water is low, then press the size button.
- Reseat a removable reservoir only while the brewer is idle. On models such as K-Elite, K-Express, and K-Duo Essentials, lift the reservoir off and set it back securely as the guide describes. Do not remove it during brewing.
- Check the manufacturer’s water guidance. The K-Elite, K-Express, and K-Mini manuals explicitly say not to use distilled water. Water-detection behavior should not be assumed identical across all Keurig models.
- Stop when the light does not clear. The K-Elite and K-Duo Essentials manuals direct you to Customer Service if ADD WATER remains illuminated after the proper refill and seating checks. Do not pry open reservoir valves or the brewer housing.
For the K-Mini or K-Mini Plus, use the water-fill and BREW-light sequence in that specific manual instead of the removable-reservoir steps above. The original K15 / older Mini-family manual also documents a flashing blue ADD WATER status light, so check which generation you own before interpreting the color or blink.
Keurig Descale Light Blinking: A Cycle or a Problem?
A blinking BREW button during a descale cycle often means the machine is waiting for the next brew or rinse. ADD WATER may indicate the end of one descaling stage. That does not mean the descaling alert has been cleared. On the K-Duo Essentials Gen 2, for example, the manual documents flashing BREW prompts across the sequence and describes when the brewer exits Descale Mode.
For the rest of the K-Duo family, our K-Duo descaling guide by generation shows how to follow the manual Gen 1 process or the programmed Gen 2 rinse sequence without mixing the controls.
- Currently descaling: Finish the exact model’s descaling and fresh-water rinse sequence. Do not substitute a button combination from another Keurig. For the K-Express family, our K-Express Descale Mode instructions show the different button layouts and rinse stages.
- DESCALE indicator remains on after you think you finished: Check whether the required rinse stages were completed, then follow our Keurig descale light won’t turn off guide.
- Looking for cleaning instructions: Our vinegar-free Keurig cleaning and descaling guide explains routine cleaning separately from internal scale removal.
The manuals do not describe every DESCALE indicator as flashing rather than steady. Record exactly which lamp or button is pulsing, especially if other buttons change during a descaling cycle.
A light flashing during an active descale cycle is different from deciding when to maintain the brewer. The Keurig descaling frequency by model explains the calendar intervals and which alerts may come sooner.
Keurig Lights Flashing but Not Brewing: Safe Checks
If a normal ready pattern appears but the brewer does not start, use these reversible checks. Do not keep restarting a brewer that loses power mid-brew or shows an electrical warning.
- Confirm the handle is fully closed. The K-Elite and K-Duo Essentials manuals tell you to close the handle securely. Expected result: the appropriate ready buttons illuminate or blink.
- Make the normal selection. On a K-Express, press the desired flashing cup size; on models with a BREW button, select the size and then press BREW as the manual instructs. Expected result: heating or brewing begins.
- Check water without removing parts mid-brew. Use the model’s MIN/MAX guidance and, only where the reservoir is removable, reseat it while idle. Expected result: the water warning clears or the brewer accepts the selection.
- Allow the documented heating stage. The K-Mini manual describes approximately two minutes with the indicator pulsing before dispensing; the K-Elite can need around three minutes to heat from cold. A short pause is not necessarily a breakdown.
- Check for a disabled or timed-out selection. The earlier K-Duo Essentials guide and original K-Café guide describe buttons timing out; wake the controls as the instructions for that particular revision explain. Avoid invented universal resets.
- Follow the symptom when the brewer still does not deliver water. If the machine stays powered on but no water flows, use our Keurig not pumping water guide. If it stops early with a short cup, see Keurig not brewing a full cup.
If the ready lights look normal but pressing BREW or a cup-size button has no effect, that is a control-response symptom. Follow the Keurig buttons not working checks for model-specific possibilities.
For a K-Express with flashing lights and no brew, our K-Express light and brewing troubleshooting guide separates normal prompts from a brewer that is not responding.
If your original K-Café’s frother lights are flashing rather than the brewer’s size buttons, use our K-Café frother troubleshooting guide for the whisk and frother-base checks. This is a separate symptom, not a universal coffee-maker error code.
An Older K15’s Flashing Red BREW Button
An older Keurig Mini/K15-family guide describes the BREW button flashing red during heating. It says to contact Customer Service if that red flashing continues for more than three minutes. This advice is specific to that older brewer and should not be applied to a new K-Mini based only on a similar-looking light.
If Your Keurig Model Is Not Listed
K-Select, K-Compact, K-Mini Go, K-Café SMART, K-Duo Plus, other SMART models, and Keurig 2.0 brewers can have different indicators. Locate the exact model and its Keurig support documentation instead of assigning a meaning from another model’s table. A blinking light by itself does not prove the brewer needs a replacement part.
When to Stop Troubleshooting and Contact Keurig
- Stop using the brewer immediately if there are sparks, smoke, a burning smell, melted or damaged wiring, a hot plug or outlet, or a tripped breaker.
- Keep clear of wet electrical connections. If water is near the plug or outlet, disconnect power only when it is safe to do so. Do not touch water around live electricity.
- Contact support for a documented stop condition. Examples include all size buttons blinking together on K-Elite, all buttons blinking together on K-Duo Essentials, and ADD WATER not clearing on models whose manuals direct you to call.
- Do not open the brewer. Keurig manuals warn that service inside the machine is not a user maintenance procedure. Never defeat a safety mechanism or use unverified internal resets.
- If the brewer loses power mid-brew, do not treat that as an ordinary ready light. Our Keurig keeps shutting off guide covers that situation. For a machine with no response at all, see Keurig won’t turn on.
Visit Keurig Customer Service or call 1-866-901-BREW (2739). Have the model and revision, exact light pattern, when it occurs, and steps already tried. Warranty coverage depends on the specific product and purchase details; follow the guide that came with your brewer.
For a different symptom, start with our Keurig troubleshooting and maintenance hub.