- Check your settings first. A larger size button, or more water poured into a one-cup reservoir, means a bigger cup.
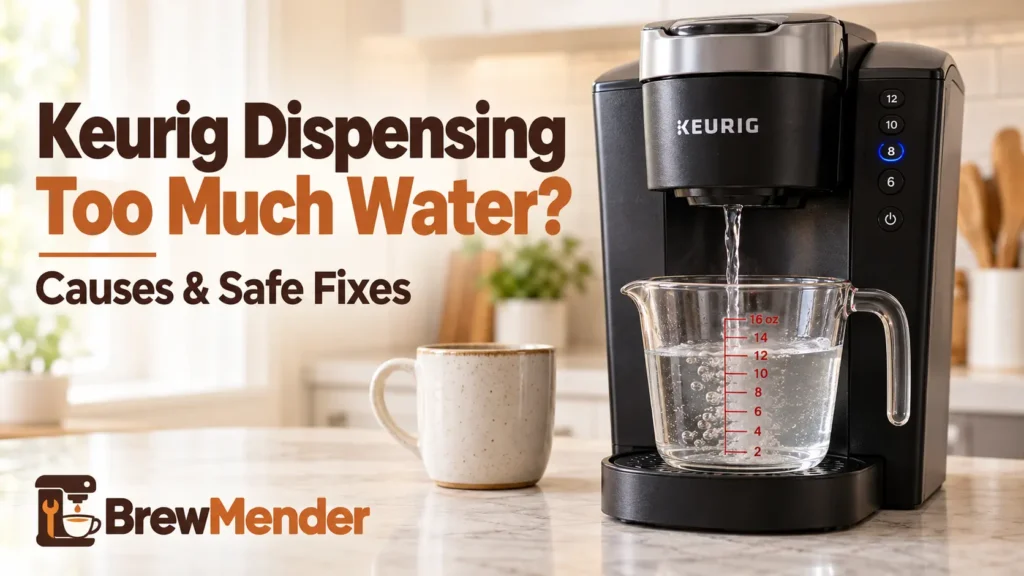
- Measure. Run a water-only brew into a large mug, then pour it into a measuring cup.
- Know the normal cases. Cleansing, rinse, descaling, and hot-water cycles dispense water on purpose.
- Stop if it won’t stop. If water keeps flowing after the cycle ends, power off, unplug, and call Keurig.
A Keurig dispensing too much water may simply be doing what it was told. A bigger size, extra water in a one-cup reservoir, or a rinse cycle can all send more water into the cup than you expected. Sometimes it is a real fault, and this guide helps you tell the difference.
This guide focuses on water that comes through the normal dispensing outlet into your mug. If the opposite happens and you receive too little coffee, see our Keurig not brewing a full cup guide. Water leaking outside the cup needs a different diagnosis.
Keurig Dispensing Too Much Water? Start With These Checks
Start by confirming what you asked the brewer to do: the size button you pressed, or how much water you poured in. Then run a water-only brew into a mug and measure it. Check those before suspecting a failed part, because a setting or an on-purpose water cycle can look just like a fault.
Work through these in order:
- Note your selection. On a brewer with size buttons, check which one you pressed. On a brewer where you pour in water for each cup, check how much you added.
- Rule out a cycle that dispenses on purpose. Cleansing brews, rinse brews, descaling, and hot-water functions all send water through by design. Details are in the next section.
- Check the mug and the drip tray. A mug that is too small or off center can look like over-dispensing.
- Measure a water-only brew. The steps are below.
Use this table to find your situation:
| What you notice | Possible explanation | Best next step |
|---|---|---|
| Cup overflows after a larger size was selected | Brew-size or cup mismatch | Check the selected ounces and mug capacity |
| Extra water occurs during a cleaning or rinse cycle | An intentional water cycle | Follow your model’s manual |
| Water pools in the tray or under the brewer | Spill, pod overflow, or leak | Find where the water first appears |
| A safe water-only test consistently exceeds the selected size | Possible output-control problem | Stop repeated testing and contact Keurig |
| Water keeps flowing when the brew should be over | Potential scalding or electrical hazard | Stop using the brewer and follow the safety steps below |
These are starting points, not diagnoses.
Why Is Your Keurig Dispensing More Water Than Selected?
Sometimes the brewer is simply following the controls. A bigger size, extra water in a one-cup reservoir, or a rinse or hot-water cycle can deliver more water than you expected. A malfunction is also possible, but the specific Keurig manuals reviewed here do not establish a particular internal cause of excessive output.
A bigger size or a deeper pour
Brewers with size buttons dispense the volume tied to the button you press. The K-Elite guide lists five sizes, from 4 oz to 12 oz, so pressing 12 oz instead of 8 oz asks for more water.
A one-cup reservoir works differently. On the K-Mini, you pour in the amount you want, from 6 oz to 12 oz, and the K-Mini guide says not to fill past the MAX line or below MIN. In practice, the water you add sets your cup size. A heavier pour gives you a bigger drink.
Cycles that dispense water on purpose
Some Keurig cycles run water through the brewer with no pod. Don’t count these as over-dispensing:
- Cleansing brews. The K-Supreme and K-Elite setup steps call for an 8 oz brew with no pod, and the hot water goes into the sink. The K-Duo Essentials Gen 2 guide says to run one if the brewer has been in storage or unused for days.
- Rinse brews after needle cleaning. The K-Mini and K-Elite guides call for two water-only brews after you clean the entrance needle.
- Descaling. The K-Supreme guide has you repeat descaling brews until ADD WATER lights, then run fresh-water rinses until DESCALE turns off. The K-Elite guide calls for at least 12 rinse brews at the largest size.
- Hot water and purge. The K-Elite has a HOT WATER button for hot water on demand. The K-Supreme guide documents a purge for partial cups: with the brewer off, hold BREW and 12 oz for 5 seconds until water dispenses.
Don’t try the purge on another model. Button combinations differ across Keurig brewers.
What if the selected size still produces too much water?
Owners have described genuinely unexpected output on different Keurig models. For example, a K-Duo owner reported too much water on the carafe side, while a K400 owner described a brew that would not stop. A separate K40 discussion received troubleshooting suggestions but did not establish a confirmed cause. These are individual owner reports, not evidence of a particular failed component or a general defect. If your brewer repeatedly exceeds the chosen size, document the result for Keurig support rather than replacing parts based on guesses.
How to Check Whether Your Keurig Is Actually Over-Dispensing
Where your exact model’s manual permits a no-pod cleansing brew, collect the output in a suitably large, heat-safe mug, allow it to cool, and measure it. Compare it with the selected brew size or the water added on single-fill models. The manuals reviewed here do not specify a universal volume tolerance. This is a diagnostic comparison, not a calibrated test of the brewer.
Safety first: The water is very hot, and Keurig’s guides warn not to lift the handle while the brewer is running. Use a heat-safe mug, keep your hands and face away from the pod holder, and let the water cool before you pour it.
- Confirm your guide documents a no-pod brew. The K-Mini, K-Supreme, K-Elite, and K-Duo guides call it a cleansing brew. If yours doesn’t, skip this test.
- Set up the mug. Empty the drip tray and place a large ceramic mug on it. The K-Elite and K-Duo guides ask for at least 12 oz for these brews.
- Prepare water as your manual directs. For removable-reservoir brewers, ensure there is enough fresh water and the reservoir is seated correctly. On the K-Mini, measure 8 oz in a mug and pour that amount into its reservoir, as the K-Mini guide describes.
- Use the model’s documented no-pod procedure. The K-Elite guide specifies pressing HOT WATER, then 8 oz, for its cleansing brew. For the K-Duo Essentials Gen 2 single-cup side, the full Use & Care Guide specifies OZ, the illuminated 8 oz selection, then BREW. Follow the instructions for your model; do not copy another model’s button sequence.
- Let the cycle finish safely. Do not open the handle while brewing. If it sprays or flows uncontrollably, stop and follow the safety instructions below; do not continue testing.
- Measure the output after cooling. Pour it into a measuring cup and record the selected amount and the measured result.
- Retest only if safe. If the brew completed normally without leaking or spraying, a second measurement at the same setting can help rule out a one-off error. Stop if the result is clearly abnormal or the brewer behaves unpredictably.
A pod can change the final volume, so a water-only brew gives the cleaner comparison. Treat a small difference on one test as a reason to test again, not as proof of a fault.
| Result | What it suggests | Next step |
|---|---|---|
| About the size you chose | The brewer measured normally in this test | Check the mug, tray, and pod |
| A bit over once, normal on retest | A one-off or a measuring slip | Retest before changing anything |
| Far over every time on the same size | A possible fault that can’t be pinned down from outside | Follow the fix steps, then call Keurig |
| Keeps flowing after the cycle ends | A hot-water hazard | Stop using it |
An interrupted cycle can make one observation difficult to interpret, but the manufacturer guides reviewed here do not establish that interruption causes over-dispensing. Do not attempt repeated tests if the machine behaves dangerously.
Is It Over-Dispensing, or Is Water Escaping Somewhere Else?
If your mug holds the amount you selected but water shows up in the tray or on the counter, the brewer may not be over-dispensing at all. Check the tray, the mug position, and any overflow around the pod holder or carafe basket. Water under the base is a leak, which has its own guide: Keurig leaking water from the bottom. On a K-Duo, liquid dripping from the carafe or an ill-fitting lid is another issue to check. Our K-Duo replacement carafe compatibility guide helps you match a pot to the right brewer model.
- A full or missing drip tray. The K-Mini, K-Supreme, and K-Elite manuals specify up to 8 oz of tray capacity, while the K-Duo Essentials Gen 2 manual specifies 4 oz. Empty the tray before it overflows. Some models allow you to remove it for a taller travel mug, but then spilled liquid has no tray to collect it.
- Over Ice brews. The K-Supreme guide says to choose a tumbler large enough for both the ice and the drink to prevent overflow. The K-Duo guide says not to brew hot over ice into glass.
- The K-Duo carafe basket. Keurig says removing the carafe for more than 20 seconds during Pause & Pour may cause the filter basket to overflow. It also gives a maximum of 15 tablespoons of regular grounds (12 for decaf) and warns that exceeding it may cause overflow.
- Pods and reusable filters. If water or coffee spills around the pod holder instead of reaching the mug, see our guide on K-Cups that burst or reusable filters that overflow. The K-Supreme guide says to use only the newer My K-Cup filter design.
What Can You Fix Without Opening the Brewer?
You can correct an accidental size selection, single-fill water amount, mug position, or overflow from the tray. These steps prevent an avoidable spill; they do not repair a brewer that consistently meters too much water through its outlet. The manuals reviewed here do not document an owner-performed internal repair for that failure.
- Match the size to the mug. On a size-button brewer, pick a size that fits your mug. On a K-Mini, pour the amount you want into your mug first (6 oz minimum, 12 oz maximum), then pour that water into the reservoir.
- Empty and seat the drip tray. Wait until the brewer is off and cool before you slide it out.
- Center the mug. For a travel mug, remove the tray and use the tray base, as the K-Supreme and K-Elite guides describe.
- Size the cup for Over Ice. On the K-Supreme, use a tumbler big enough for the ice and the drink.
- Check the selected volume again. Only if the brewer remains safe to use, compare a water-only brew with the selection as described above. A better result may indicate a settings or measuring mix-up, but one test does not prove a repair.
- Contact Keurig for persistent excessive output. Do not remove the housing, adjust controls inside the brewer, or purchase an unverified replacement component.
What this guide doesn’t recommend: Keurig’s guides tie needle cleaning and descaling to grounds in the coffee, partial cups, and low flow. They don’t tie them to extra water, so we don’t offer them as fixes here. Keep to your model’s descaling schedule as routine care, but don’t expect it to cure over-dispensing.
Do not apply a reset sequence from a different model. Some unofficial repair sites suggest replacing a flow meter or control board, but the manufacturer manuals reviewed for this article do not establish those as a diagnosis or a safe consumer fix.
Does the Fix Depend on Your Keurig Model?
Yes. Some brewers set the cup size with buttons. Others set it by how much water you pour in. The K-Duo adds a carafe measured in cups. Identify your type before you compare results.
| Brewer | How output is set | What to check |
|---|---|---|
| K-Mini | Water added to single-fill reservoir (6–12 oz) | Measure the fill, and respect MIN/MAX markings |
| K-Supreme | Selectable brew sizes, plus Over Ice | Check the chosen size and the manual’s no-pod instructions |
| K-Elite | Five sizes (4–12 oz) and HOT WATER | Use HOT WATER, then 8 oz, for its documented cleansing brew |
| K-Duo Essentials Gen 2 | Single cup: 8, 10, or 12 oz; carafe: 8, 10, or 12 cups | Check which side is in use; the drip tray holds 4 oz |
On the K-Duo, carafe size is selected in cups rather than ounces, as shown in Keurig’s Gen 2 Use & Care Guide. The guide calls for upright storage; it does not establish tipping the machine as a troubleshooting fix. Do not invert the brewer to try to correct excess output.
Model versions and procedures differ. For K-Select, K-Express, K-Slim, K-Classic, and other models not specifically documented above, check the exact Use & Care Guide rather than assuming that one of these button sequences applies.
When Should You Stop Troubleshooting and Contact Keurig?
Stop if water keeps dispensing after the cycle should have ended, if hot water sprays or reaches the cord or outlet, or if a safely performed no-pod test shows consistently excessive output. The reviewed manuals do not give a safe consumer repair procedure for that condition, so Keurig support is the next step.
If water won’t stop flowing:
- Keep your hands and face away from the pod holder, and don’t lift the handle.
- If you can reach it without exposure to hot water, use the brewer’s power control. For the K-Duo Essentials Gen 2, the Use & Care Guide says to hold BREW for 3 seconds to power it off; other models differ.
- If it keeps going, unplug the brewer. If water has reached the cord, plug, or outlet, don’t touch them. Switch off the circuit breaker if you can do it safely.
- Let the brewer cool before you move it, and keep it unplugged.
Also stop and call Keurig if:
- A water-only brew runs far over the selected size every time.
- Output changes widely between identical tests.
- Hot water sprays or leaks from anywhere other than the dispenser.
- Water appears inside the base or near any electrical part.
The K-Mini, K-Supreme, and K-Elite manuals describe limited warranties with model-specific conditions. Review the warranty terms for your exact brewer and proof of purchase before arranging service. Keurig’s number in these guides is 1-866-901-BREW (2739), and its support site is support.keurig.com.
Have these ready when you call:
- Your model name and serial number (the label location varies by model)
- The size you selected and the amount you measured
- How many tests you ran, and whether each used a pod
- How long water kept flowing, if it didn’t stop on its own
If you own an older Keurig MINI Plus marked model K10, check its serial number against the U.S. Consumer Product Safety Commission recall notice. That recall covers hot water overheating and spraying out during brewing. Extra water in the cup is not evidence that your brewer is recalled.
The Bottom Line
Check what you asked the brewer to do, measure a water-only brew, and rule out the mug and drip tray before you suspect the brewer. If the numbers still don’t add up, or water won’t stop, stop using it and call Keurig. For other symptoms, browse the Keurig troubleshooting hub.
Editorial note: This research-based guide uses official Keurig manuals, a CPSC recall notice, and clearly labeled owner reports. We have not tested these procedures on a specific brewer; confirm model-specific instructions in your own manual.
Sources and Manufacturer Manuals
- Keurig K-Mini Use & Care Guide
- Keurig K-Supreme Use & Care Guide
- Keurig K-Elite Use & Care Guide
- Keurig K-Duo Essentials Gen 2 Use & Care Guide
- U.S. CPSC: Keurig Recalls MINI Plus Brewing Systems
- iFixit: Why too much water? (K-Duo)
- iFixit: Won’t Stop Brewing Coffee (Keurig 2.0 K400)
- iFixit: Random water output (K40)